Despite the growing popularity of the gig economy, there’s still a lot of clients and companies out there that don’t know how to hire a freelancer.
Hey, we get it – no shame! Hiring freelancers is a lot different to employing your regular, full-time employees… no more holidays or company pensions to worry about!
But just why is the new trend to hire a freelancer? What can contractors provide that your regular in-house staff member can’t? Well, we’ve explored this topic fully in another article, so if you still aren’t convinced in the powers of freelancing, check it out here.
However, if you’re already aware of just how brilliant freelancers are – keep reading! In this article, we’re about to break down the core components of hiring a freelancer using Twine, so you can sail through the outsourcing process like a breeze.
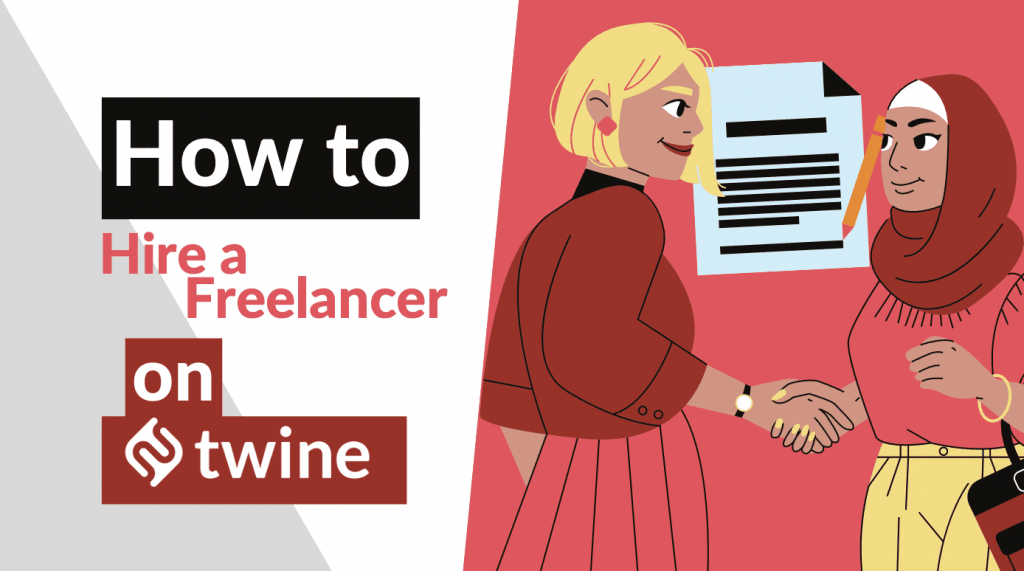
The 10-Step Procedure of How to Hire a Freelancer on Twine:
Step #1: Post your brief

If you have a project that you need to hire creative talent for, start by posting a brief.
- Head to the project briefs page, and click the blue ‘Post a project brief’ button at the top of the filter menu on the left. Remember, your brief is the first contact your freelancer will have with you – so make it count!
- Follow the steps to post your brief: we just need a few quick details – your role, description, budget, etc...
- You then have the option to set a fixed price budget, or to receive offers from creatives if you’re unsure what this should be.
- If you selected the second option, to receive offers, creatives will then pitch in with different budgets. Review their pitches then select the one that works best for you.
Step #2: Receiving a pitch

Once your brief is live, creative freelancers who want to work for you can register their interest in the job right away.
The second you receive a new pitch, you’ll get an email notification informing you – so keep an eye on your inbox! Odds are, you’ll find that your project will gain lots of interest, so prepare to turn quite a few unlucky freelancers down!
Also – if you spot a freelancer on Twine that you really like, don’t wait for them to pitch to you. Newsflash: this isn’t dating, so you shouldn’t be sat by your phone or desktop, waiting for them to pitch in!
Instead, if you’re interested, invite them to work on your project directly via Twine messages.
Step #3: Choose your freelancer

This is probably the most exciting bit when figuring out how to hire a freelancer – at this stage, you’re being faced with an abundance of talent, all who want to work on your project. I mean, the possibilities are endless!
As soon as you start receiving pitches, you can begin choosing your creative – no need to wait out the full 14 days! Find a portfolio you like the look of, give them a message, shortlist them or, if they’re the freelancer of your dreams, you could even just hire them right away!
We have an article on how you can go about choosing the right creative freelancer, so you no longer have to wonder whether the person you hired is the right one. We’re always here to help, and can point you in the right direction!
Note: after you receive a pitch, you’ve got 14 days to accept or decline it. After the 14 days are up, the pitch will expire, and you’ll therefore have to contact the freelancer directly through their portfolio page.
Step #4: Accept…

Once you settle on the creative that’s right for you, you need to accept their pitch. This is done by going to your manage briefs page: find the brief that you’re working on, and click the ‘view brief’ button.
Next, you’ll be taken to the brief details page, where you scroll down and see all the creatives who pitched on your project. Find the creative you want to hire and click the accept button. Your chosen freelancer will then be notified that you’ve chosen them for your project, and you can get down to work straight away! Hoorah!
Step #5: …or Decline

On any pitches that aren’t your style, click the ‘decline’ button. That way, you can keep a shortlist of candidates to select from before you choose the one you 100%, definitely want to go for.
Once you accept the right person, all other pitches are automatically removed from your brief – taking care of the declining aspect for you.
Step #6: Working together

Okay! Now you’ve got your freelancer, you’ve had your initial meeting, signed all the important project contracts – you’re ready to collaborate on your project!
For business owners, you may want to consider introducing the freelancer to the rest of your team so they feel well-acquainted. But, for individual clients, this is your chance to really get to know your freelance partner, and maybe pick up a thing or two…
If you’re new to the whole managing freelancers thing, we created a super handy guide to talk through the freelance management process. From start to finish, this guide takes into account every moment of your project – including other aspects like revisions and setting payments.
Step #7: Feedback

During the project, make sure you receive regular feedback from your freelancer on how the project is coming along.
That way, if you notice things aren’t going to plan or aren’t what you expected, you can steer things in the right direction before it’s too late, by asking for revisions. This is the only way your freelancer can do the best work possible – so make sure you ask for updates!
When your creative sends you drafts to review it’s perfectly normal for them to be watermarked or protected in some way. In fact, at Twine, we encourage it. This is to protect the creative’s work before they’ve been paid. Once you receive your final project, there will be no protection or watermarking.
Once you’re happy with the project, it’s time to pay up.
Step #8: Payment

So, you hired the right person, the freelancer did their job – and now it’s time to pay them that fixed rate you promised (unless you asked them to do a bit more work, in which case that rate probably went up).
- To send your freelancer their payment, head to your manage briefs page, and find the project brief they’re working on.
- Next, click ‘view brief‘.
- Select ‘Send Payment and Rate‘ from the right-hand menu.
- You’ll then be taken to the payment page, where you can send payment quickly and safely to your creative via PayPal, Bank Transfer, or, any other agreed service.
Once you’ve finalized the payment, and both you and your freelancer are happy, be sure to rate your creative freelancer. Give them a fair score out of 5 – this helps their future clients figure out if they’re a good fit for the job!
If you had a particularly good experience, you could even be so kind as to leave your freelancer a testimonial: that way they’re sure to gain some success off of the back of your project!
Step #9: Enjoy!

As soon as we’ve notified your freelancer that they’ve been paid through Twine, your project files will be delivered to your inbox and, finally, you’ll have your brand new, shiny, final project! All it needs is a bow!
10. What next?

Showcase your project! You and your freelancer have worked super hard on it – why not show it off!? Whether it’s a brand new website, an updated logo, or some funky music for your latest video campaign – now’s the time to inspire the masses!
Ask your freelancer to upload the work to their Twine portfolio, if they haven’t already. We love to see what projects you’ve been working on, and it’s a great way to gain some quick attention and publicity within the community – don’t forget, we feature our 3 favorite projects every week on our staff picks page!
Bottom line
And that was our 10-step guide into how to hire a freelancer on Twine. Hopefully, you took everything on board so you’re sure not to make any rookie mistakes when you go through the onboarding process.
Hire a freelancer correctly, and you not only have a successful project, but you may just bag yourself some new insights and perhaps a business partner for life! Check out our other articles on hiring freelancers for more info.
Ready to hire? Our marketplace of over 410,000 freelancers have the skills and expertise needed to skyrocket your business to the next level. From marketers to designers, copywriters to SEO experts – browse the talented bunch here!